Bathroom makeover part 2
So you may (or may not) have read that our bathroom makeover has started!
There was so much work that had to be done that wasn’t anticipated. The previous owners had sprung a leak but never repaired the damaged so the walls were in a bad way plus we’ve had to re-plumb the whole bathroom to lower some of the pipe work, this will enable us to box a lot of the pipes away giving it a cleaning look. However this additional work has added more time to the makeover which we hadn’t anticipated.
Things are moving along now and it is finally coming together. Over the last few weeks we have laid the underfloor heating (just waiting for the electrician to come and wire it in to our mains), had the taps for out bath fitted and also had the sink and toilet installed (temporarily of course as the tiles are going on).
We’ve also had the tiling started and it is making the whole bathroom come together.
Instead of me trying to explain how far we’ve come, why not have a look at some of our pictures:
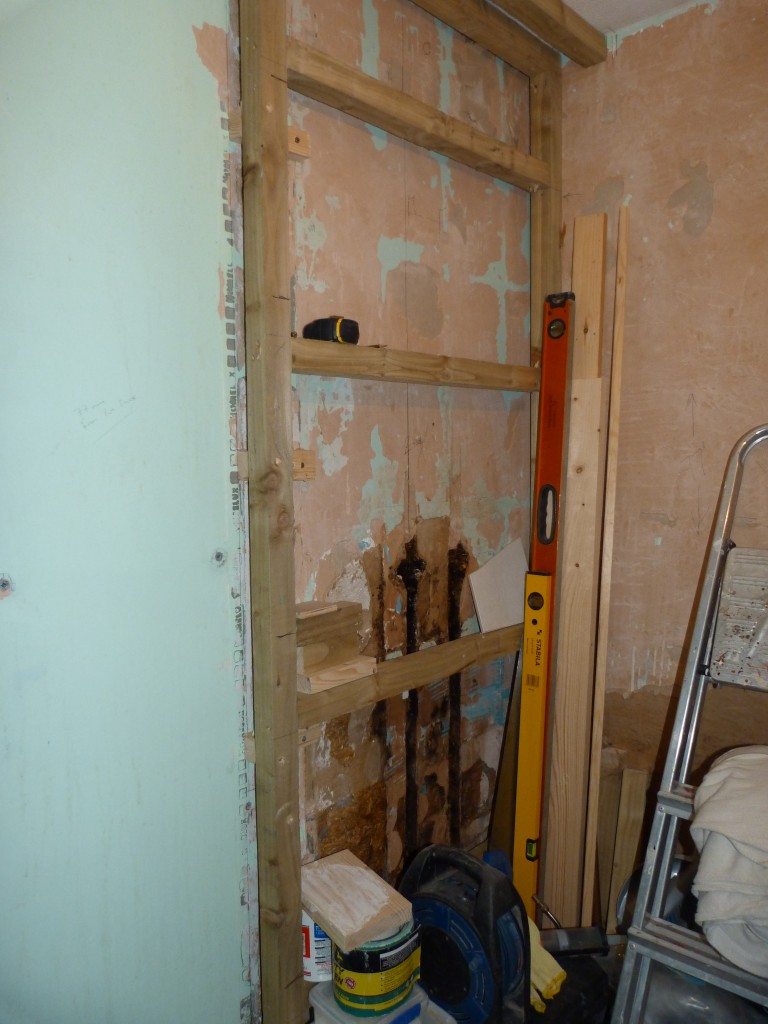
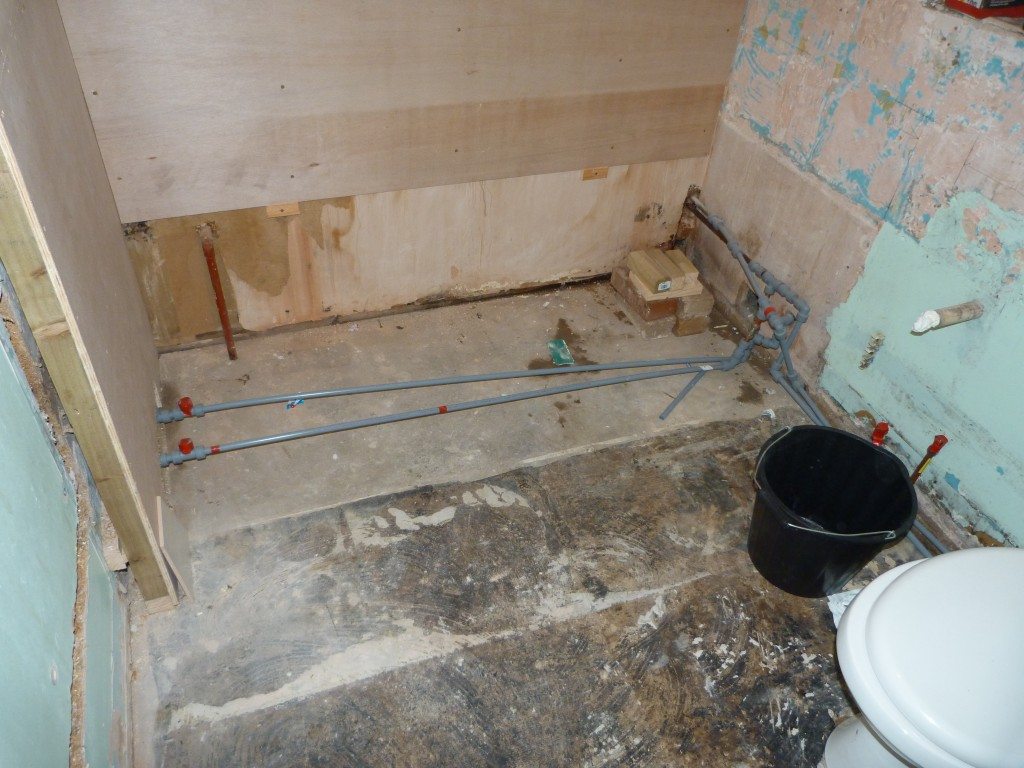
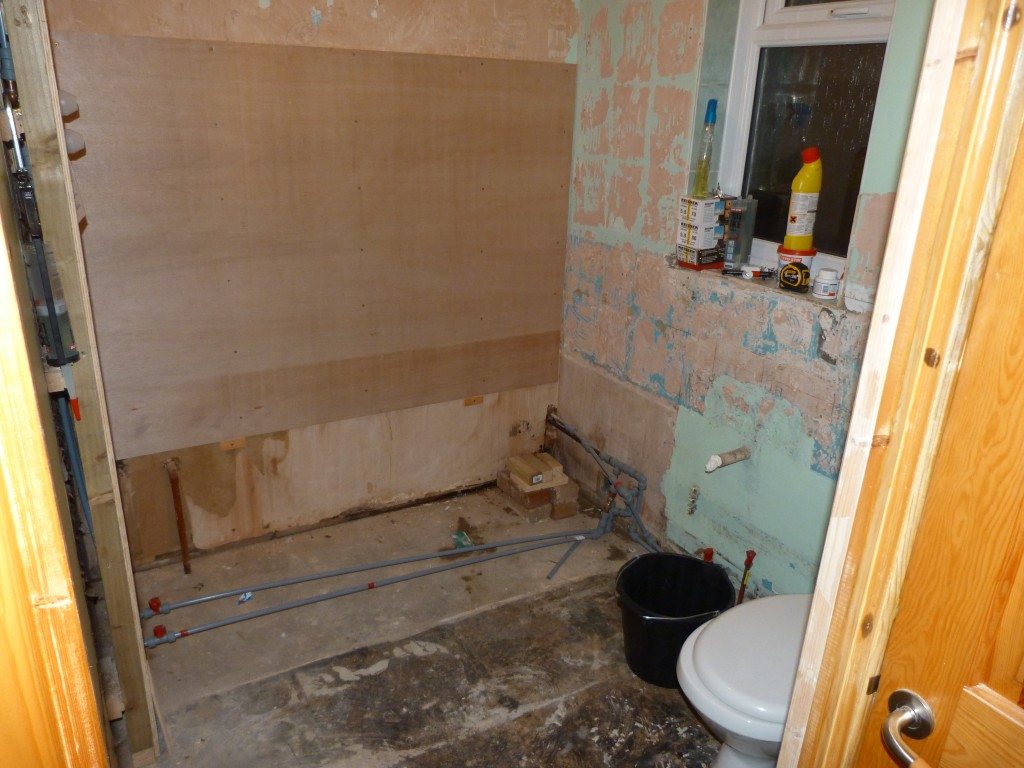
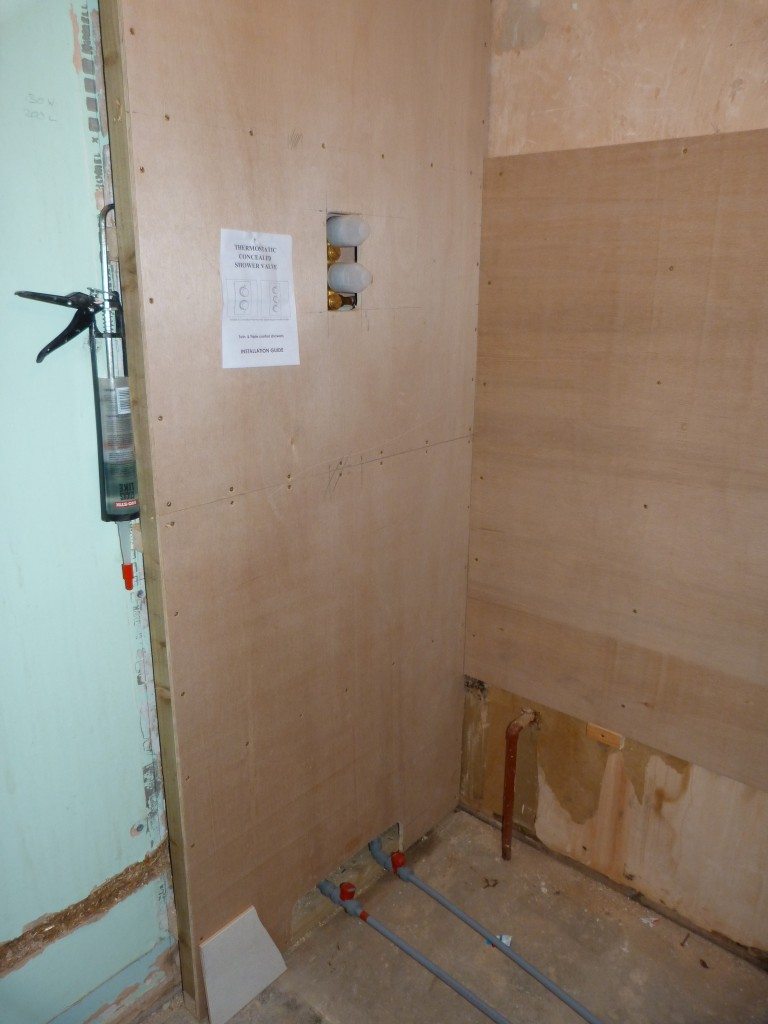
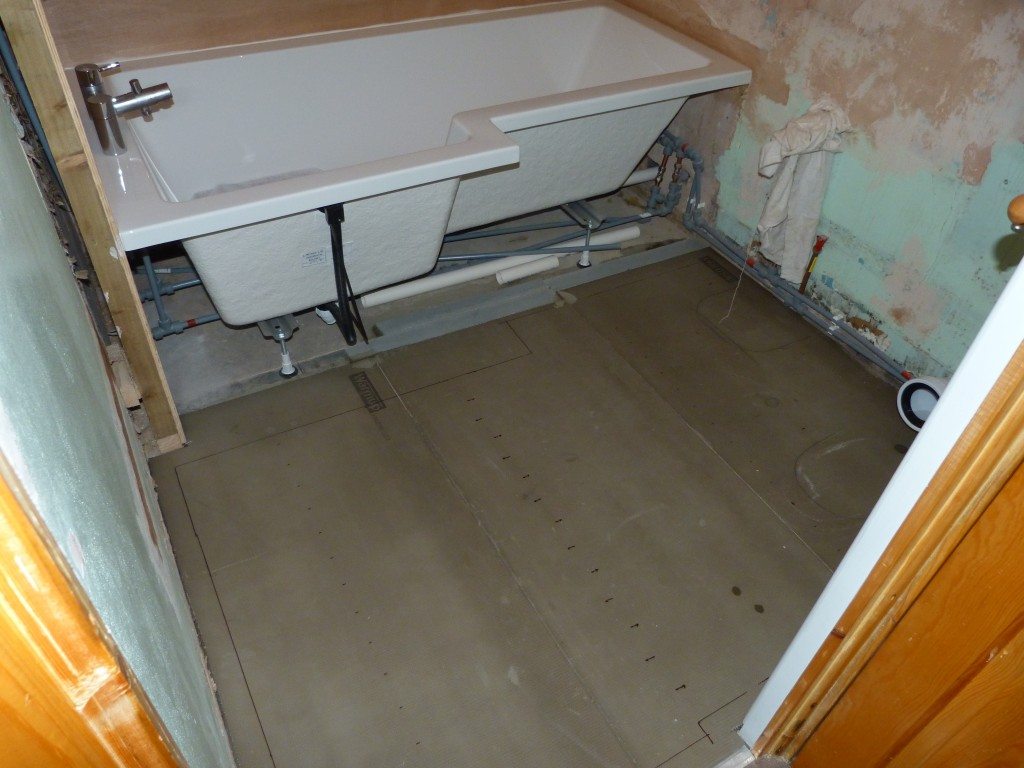
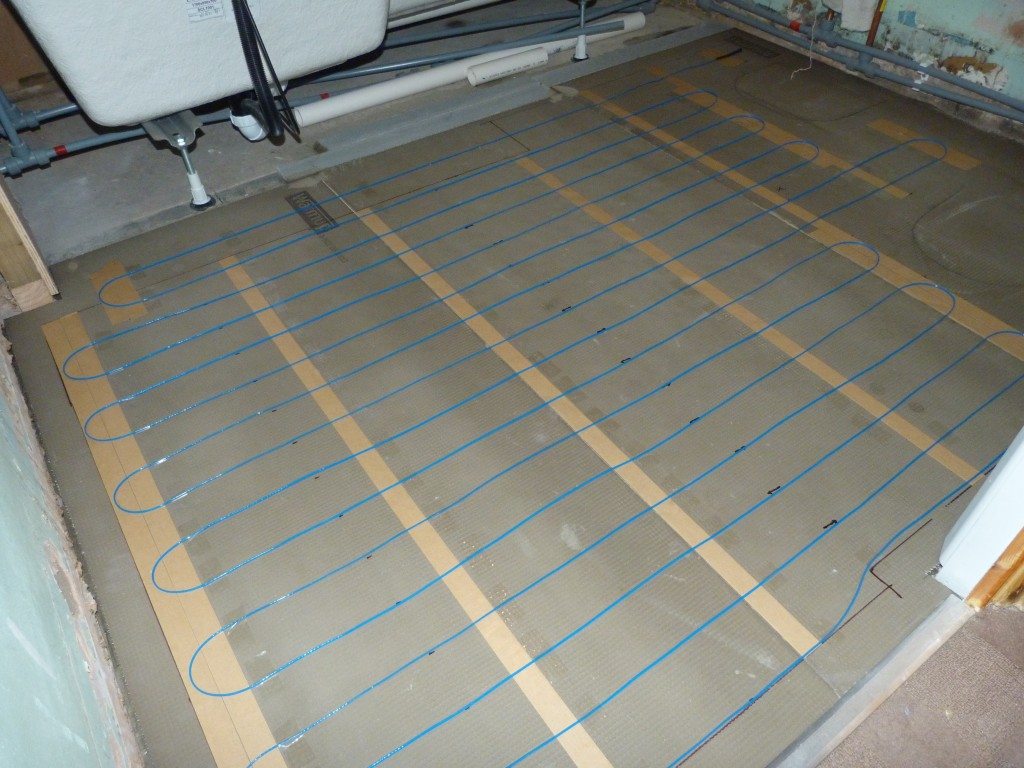
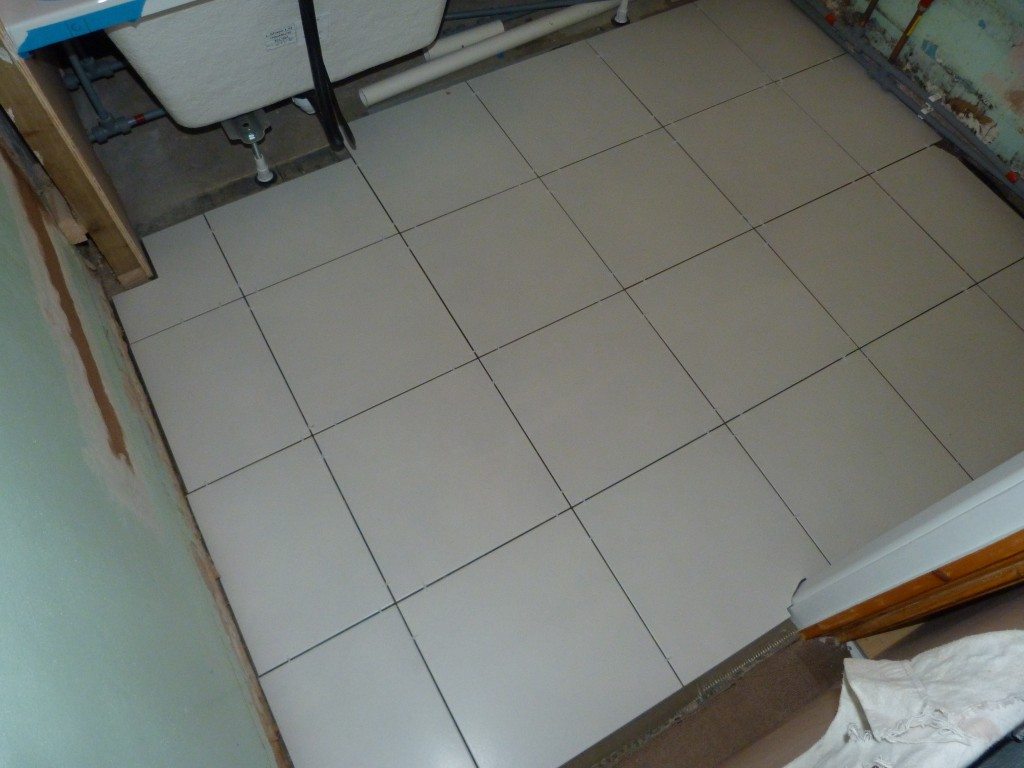
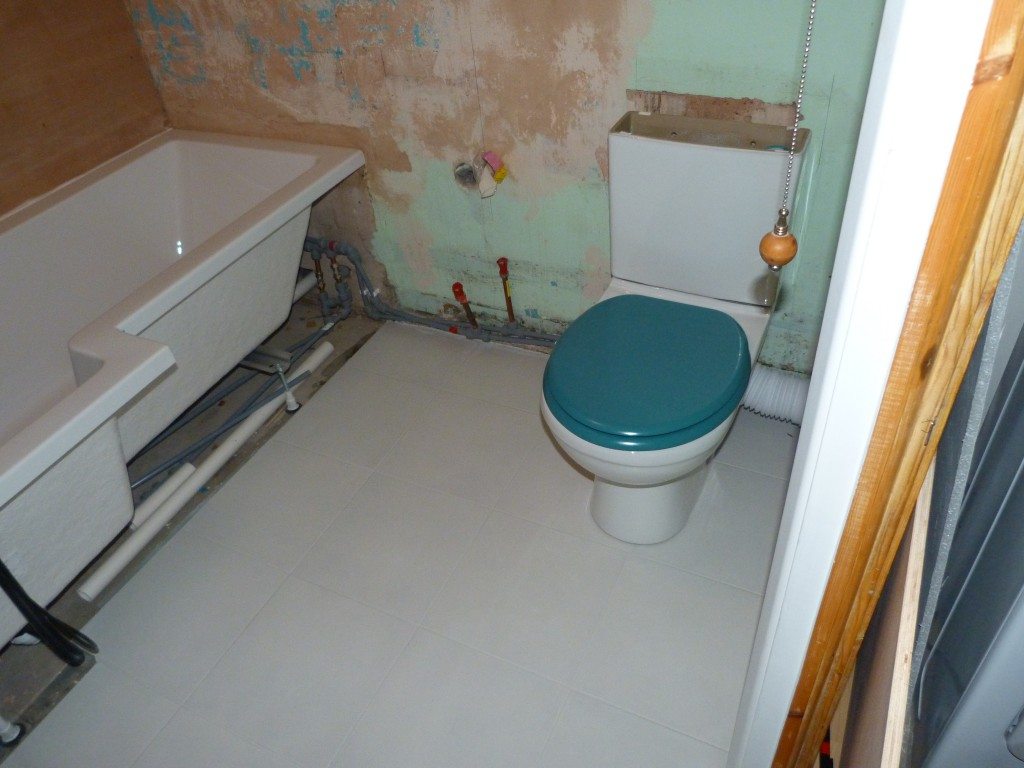
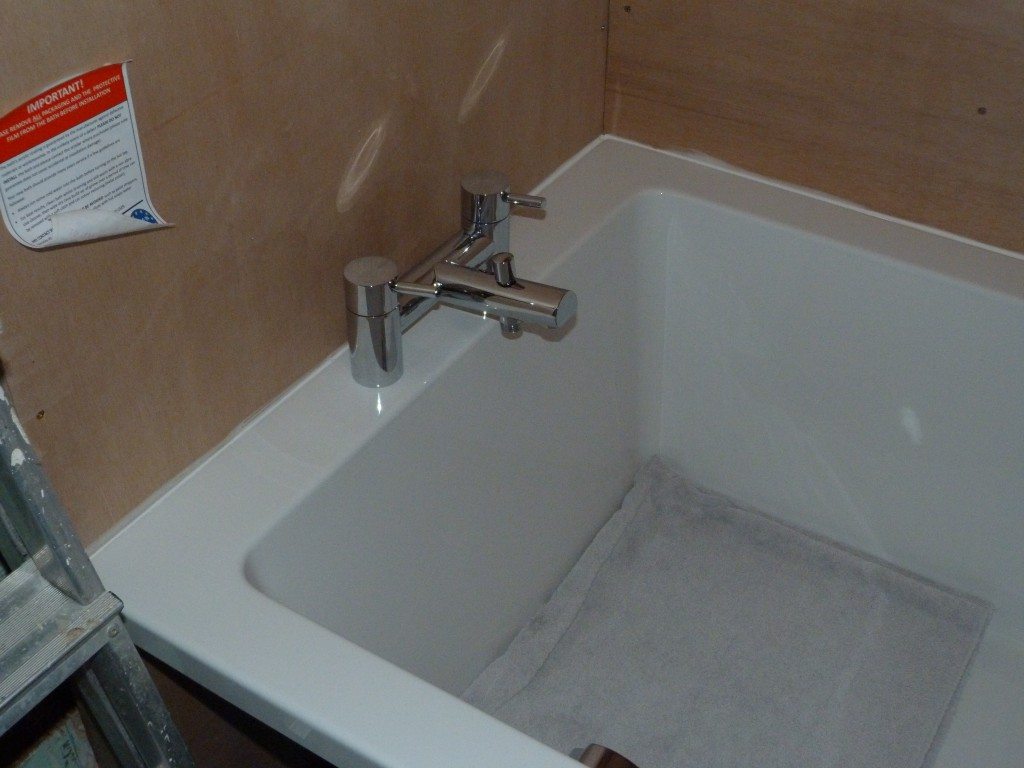
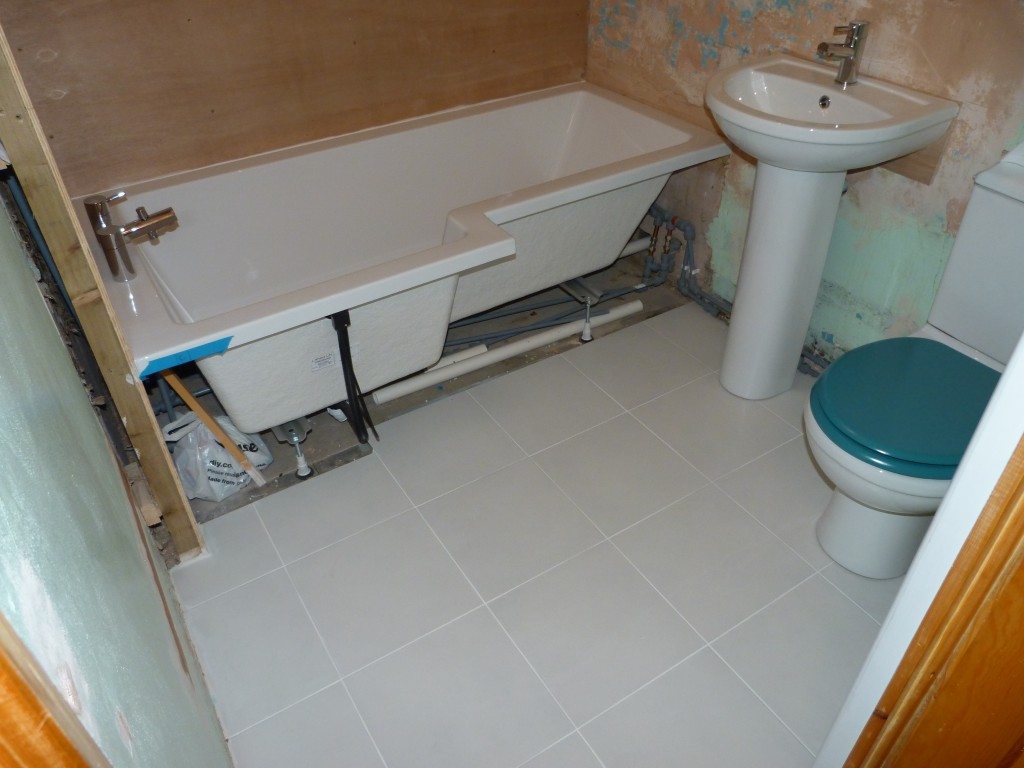
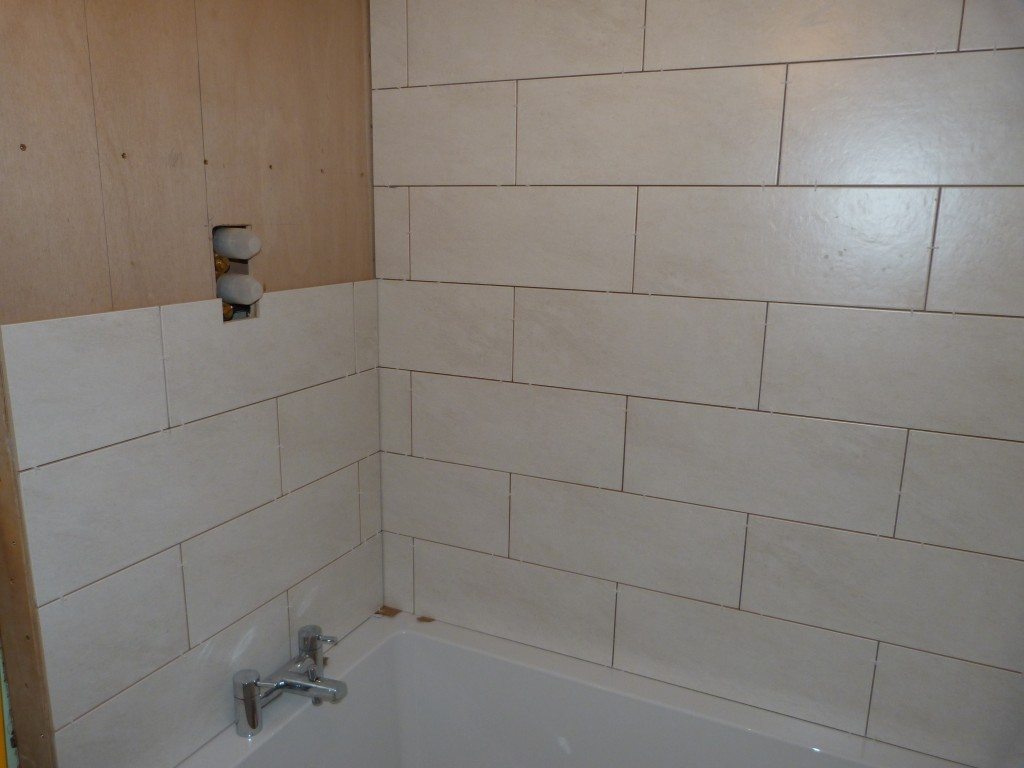
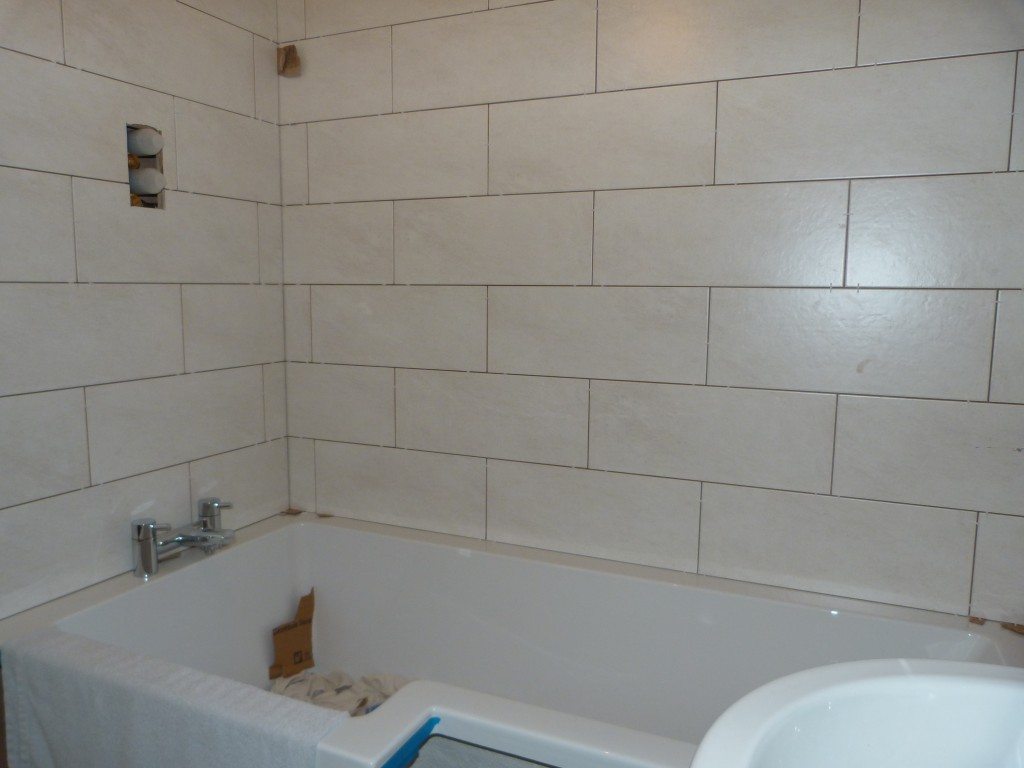
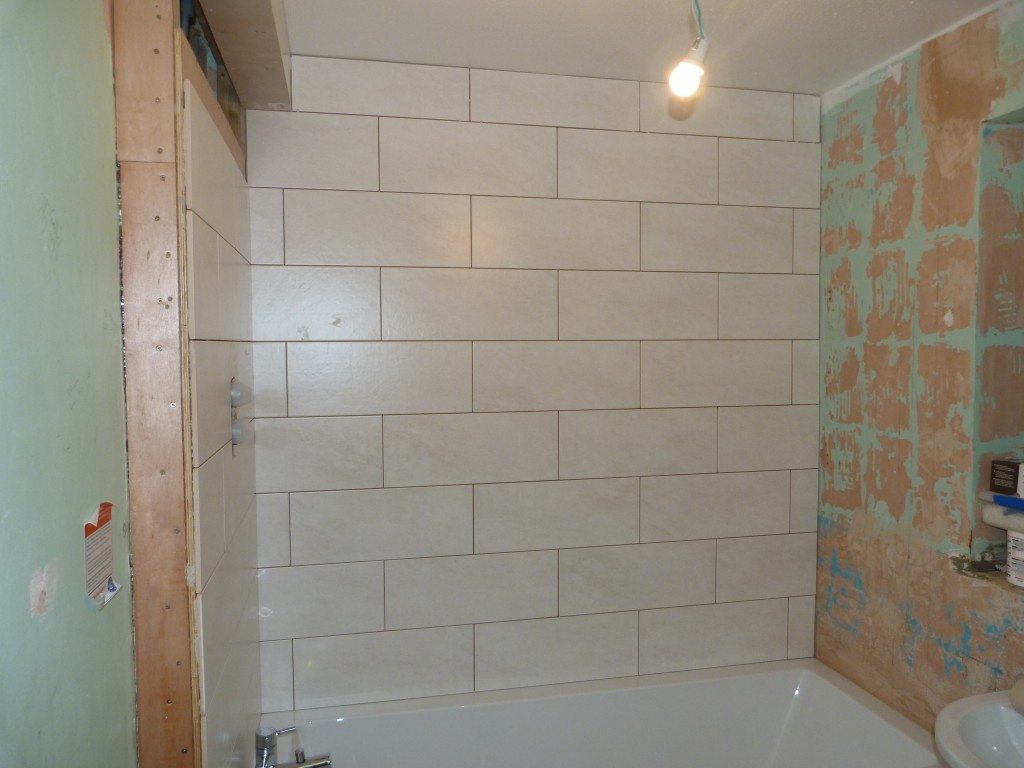
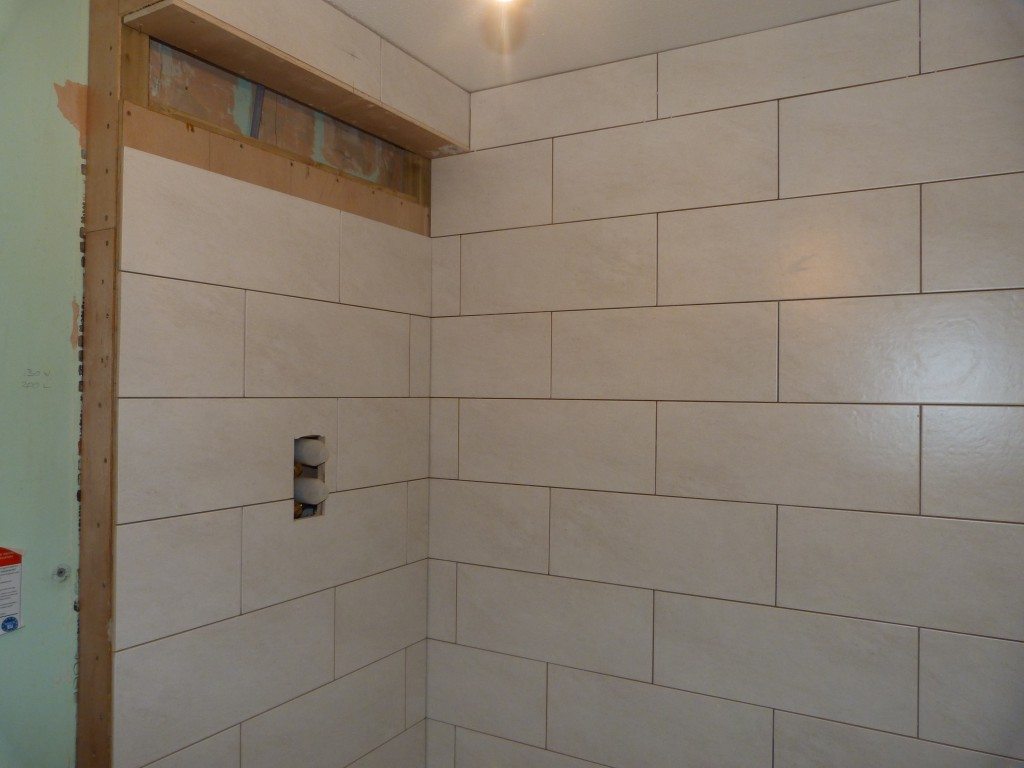
As you can see it is really starting to come together with the tiles taking their place on the wall. We’re looking forward to being able to bring you part 3 of the make over with the complete look of the bathroom.
I am loving seeing the green walls disappearing and can’t wait to be able to do the final reveal.
We would like to give a huge thank you to the following companies for being on board with our makeover and making it look simply amazing:
Bathroom from : Victoria Plumb
Tiles from : ToppsTiles
Underfloor Heating from : WarmUp
Installed by : Glen at JG Carpentry