*DIY* Pocketfold Wedding Invitations
After playing around with invites for a while I decided on going for a pocketfold wedding invite. However on a tight budget I couldn’t really justify the £1.25 plus per invitation.
So after a little help I decided that I would go ahead and make my own.
If you are looking to give them a go here is what you need and step by step guide.
Materials & tools needed :
- 2 Cards – I went for size C6
- Double sided tape but a double side tape dispenser is better
- Ruler
- Pencil
- Scissors

Instruction:
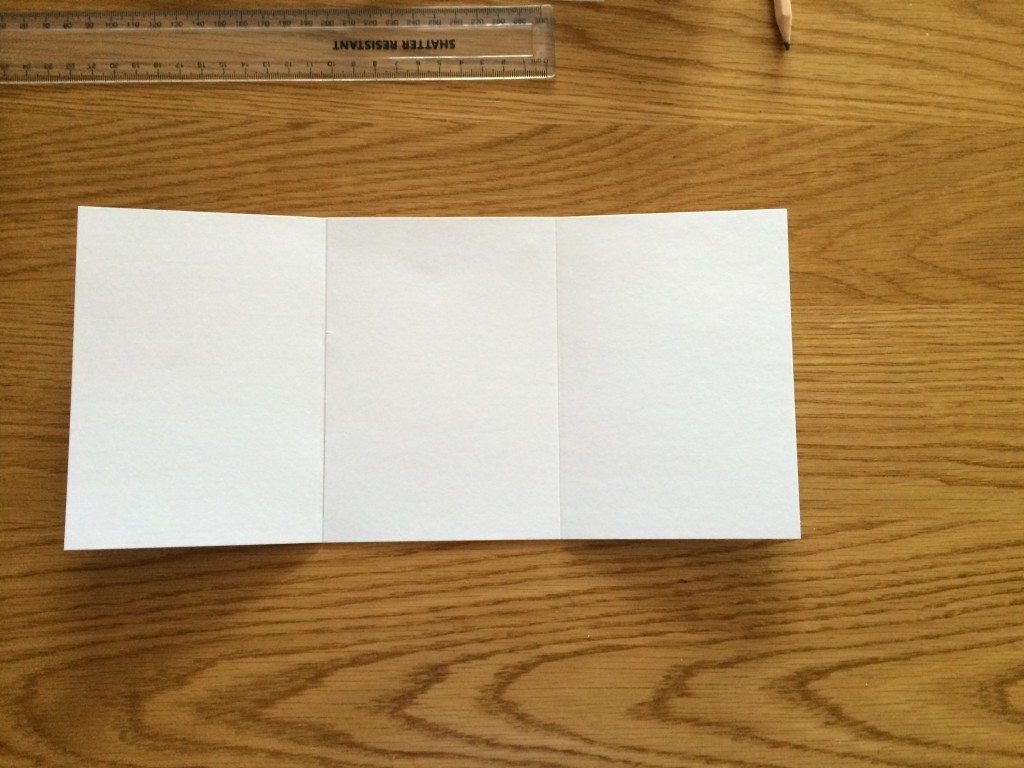
- Step 1 – Fold the cards as the are marked and then on one side use the double sided tape along the edges and a bit in the middle.

- Step 2 – Carefully stick the two cards together, taking time to line it up top and bottom.

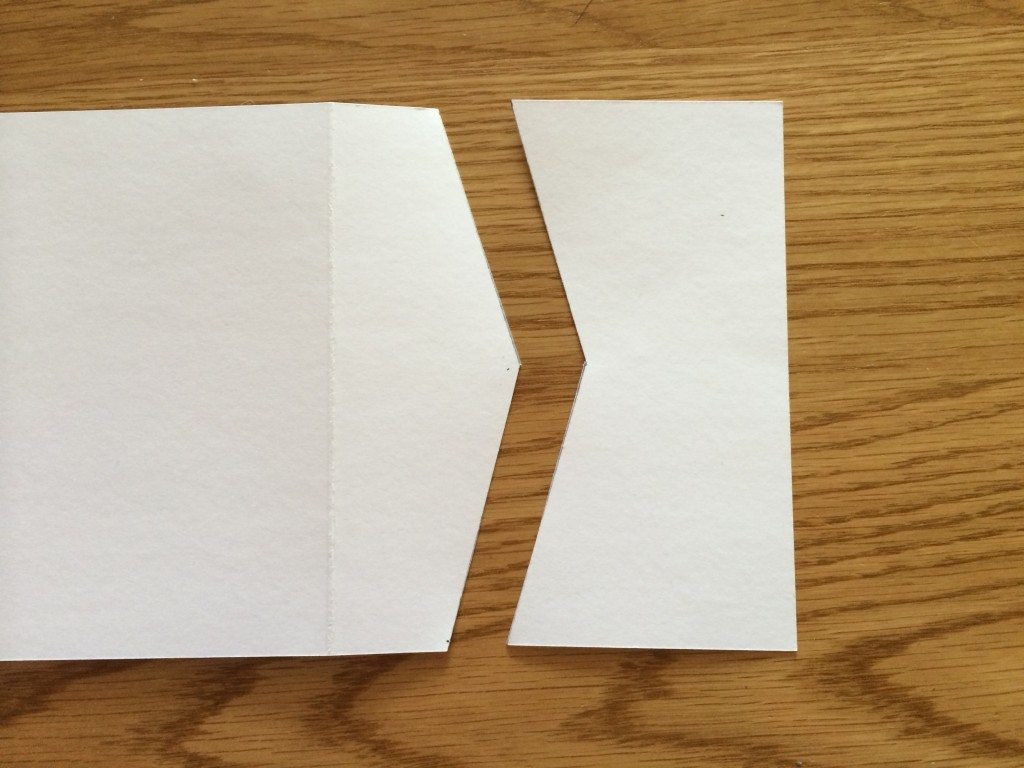
- Step 3 – Flip the card over and start to mark out your pocket fold. I worked with it starting 3 cm from the edge to a point of 5 cm but this is just what worked well with my cards.


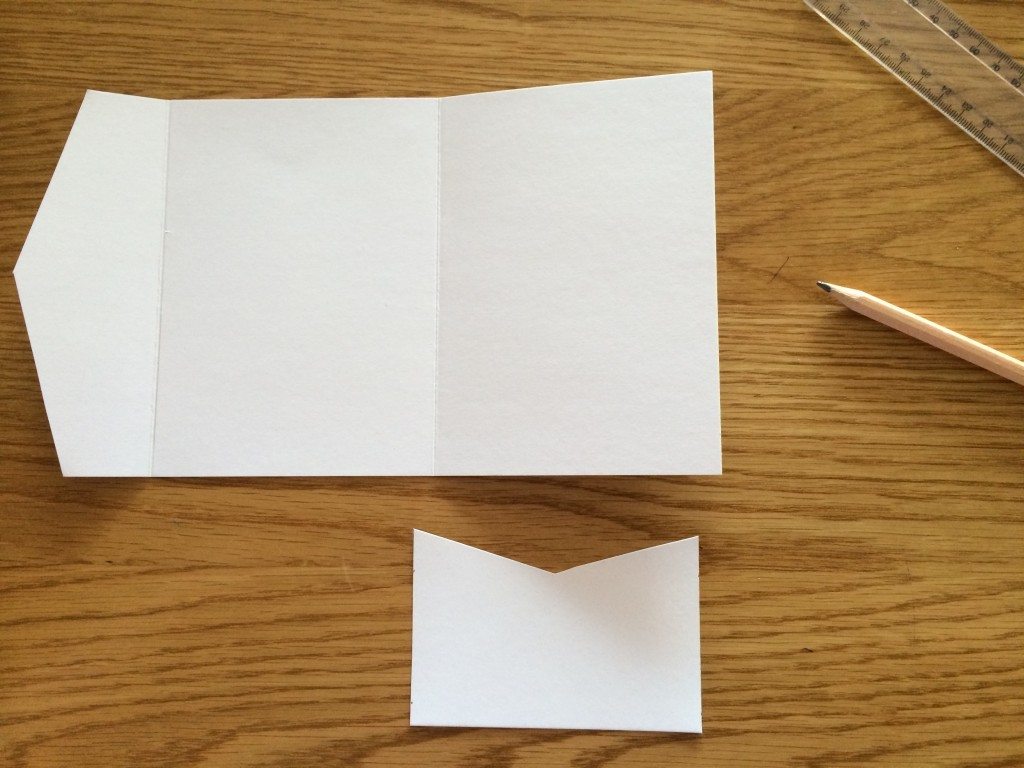
- Step 4 – Carefully cut the pocket fold off, trying to cut in one cut each line helps ensure a smoother edge.

- Step 5 – Now measure the width of your card you need, then trim your cut off to the right width.


- Step 6 – Now at this point if you are happy with just the basic pocket fold, simply tape along the bottom and sides with double sided and stick this down. However for a bit of colour we simply added a bit of ribbon in our wedding colour along the underside and stuck this down before sticking the pocket in.


- Step 7 – Now its up to you how creative you get! I used publisher to work on the inserts for our invites and printed them from home, plus I finished the outside with matching ribbon and butterflies for our theme but you really can do whatever you want here, the more creative and personal to you the better!

These do take a little while to make but please believe me the achievement you feel when you complete them you just can not match!